
A site specific WordPress plugin, is a plugin that is intended to be used only on a single website. Or in other words, a plugin made for a specific website. It’s a great solution for simple small changes like registering a shortcode or adding a quick code snippit.
Have you ever been given php code as a solution to something you need, and wondered where to put it? Perhaps you were told to “just paste this code into your functions.php file”. In those situations, usually it’s better to store that code in a site specific plugin.
But why not functions.php?
The functions.php technically works, then why not use it? Technically there’s nothing wrong with using functions.php, but the issue with that is that you’d lose that functionality if you ever changed themes. Think of it like this. If you were to ever change themes, would you still want this code to run? If the answer is yes then it belongs in a plugin, not in your theme.
Also, if you aren’t using a child theme, then whatever modifications you make to the functions.php file are going to be erased if your theme updates. If that code lives in a plugin, you don’t have to worry about that happening.
But what if I am using a child theme, AND I plan on never changing my theme? Then it’s okay…for now. But if you ever need to change themes in the future, then you’ll have a lot of extra work decoupling all that custom code from your theme and moving it over to your new replacement theme.
So it’s still probably not a great idea to use functions.php unless the code is meant to change something specific to that theme.
Where to start
So just as an example, let’s say you were trying to enable shortcodes in text widgets, and so you did a Google search and found this code:
In this guide, we’re going to take that code snippit, and make a site specific plugin out of it. You’ll need file access to your WordPress install. If you’re not sure how to do that, ask your hosting provider.
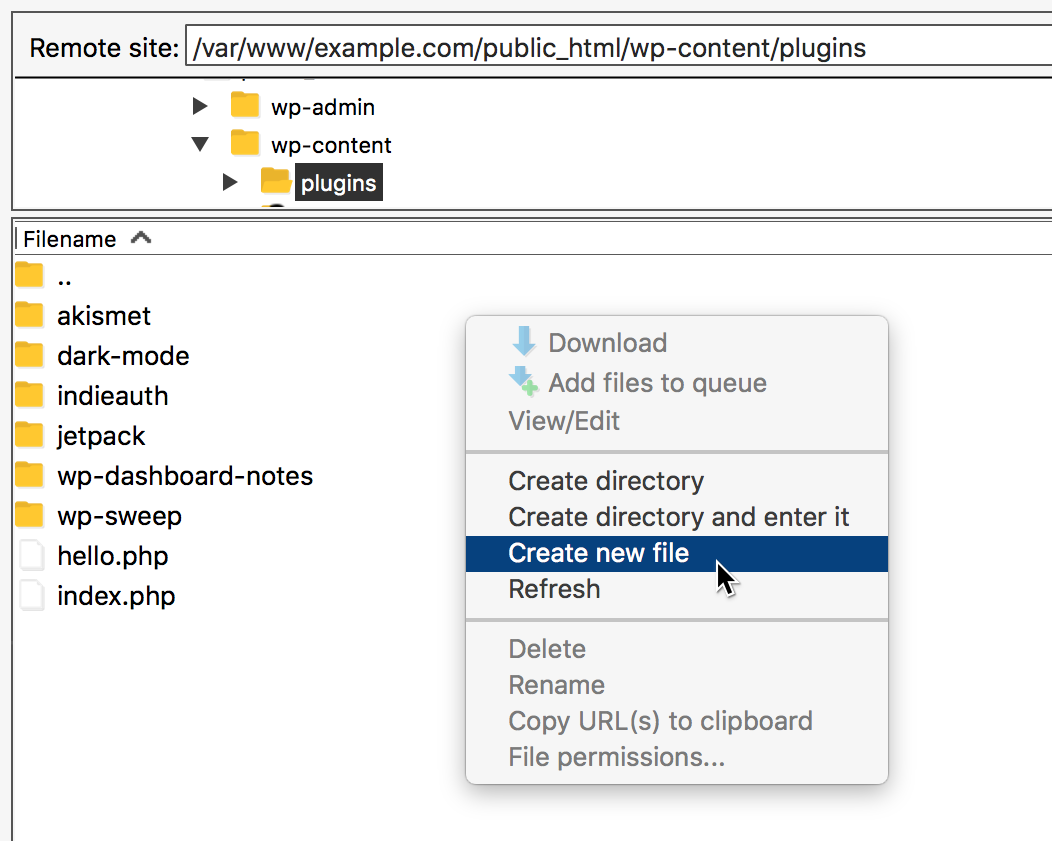
First we need to make a new file inside your /wp-content/plugins/ folder. All lowercase, and use dashes instead of spaces. For this tutorial, we’ll call our plugin enable-shortcodes-in-widgets.php.
The top of your file should contain something called a Plugin Header. The header of the plugin tells WordPress things like what the name of the plugin is, and provides some basic info about it. Here’s an example header:
So just copy and paste that header as a template, and change it around to fit your needs.
Putting it all together
Now that we’ve got our header filled out and in the right place, you’re good to paste in your code. For our example plugin, that might look something like this:
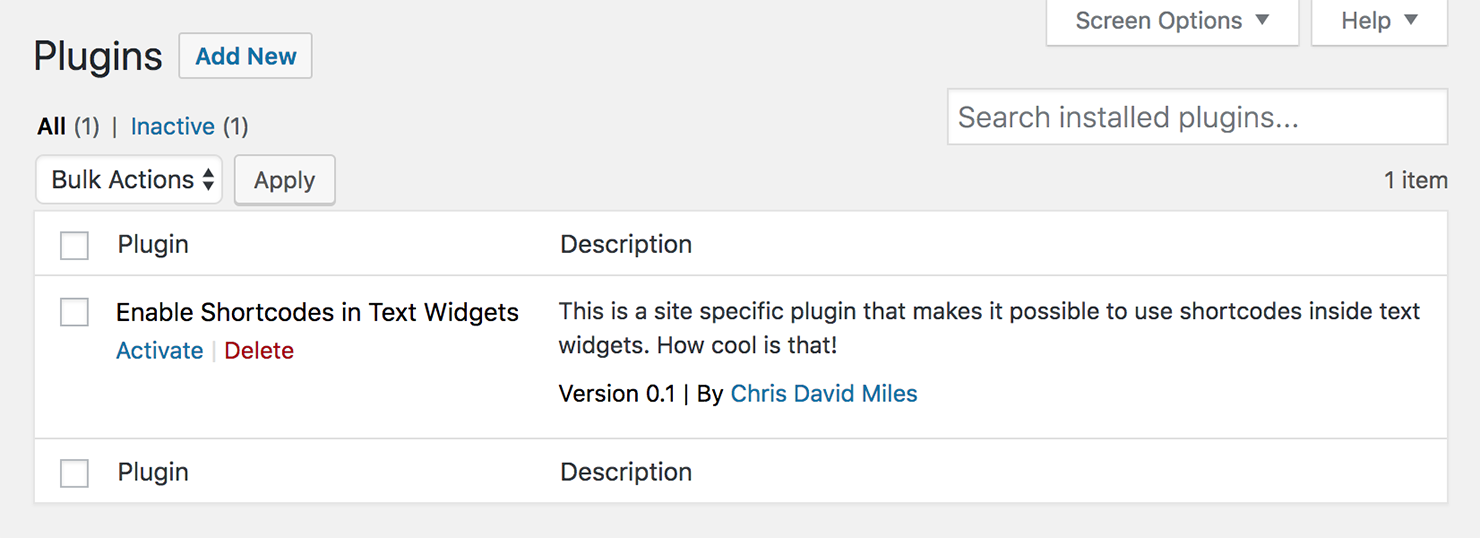
Once that’s all in place, you can activate the plugin like any other.
The nice thing about having this here (and not in functions.php) is it keeps this code modular. Now if you need to, you can turn it off and on without impacting anything else on your site.
Enjoy!